1042 words
5 minutes
博客搭建总结
Cover image source: Source
一、博客主题及其选取原因
博客最终选取了Fuwari该模板,选择原因是因为这个模板比较美观,该模板基于Astro和Tailwind CSS,网上教程比较少,最终根据仓库中的使用教程和Astro的官方部署教程成功搭建。
二、fork Fuwari仓库
 点击仓库右上角该按钮命名成自己仓库即可
三、本地安装
- git clone 刚刚fork的仓库
- 安装pnpm:
npm install -g pnpm - 用pnpm安装相关依赖:
pnpm install和pnpm add sharp
四、修改配置文件
修改src/config.ts比如图中的图标链接背景图片等 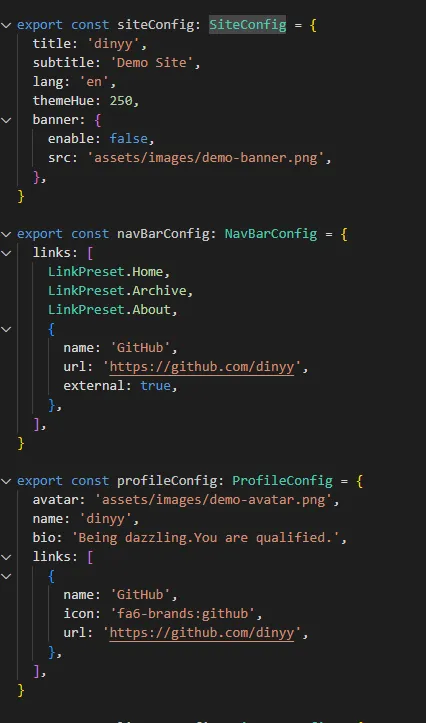
五、创建新页面
运行pnpm new-post <filename> 然后在src/content/posts/路径中修改文件 文档的详细信息如下:
Guide
---
title: My First Blog Post
published: 2023-09-09
description: This is the first post of my new Astro blog.
image: ./cover.jpg
tags: [Foo, Bar]
category: Front-end
draft: false
---| Attribute | Description |
|---|---|
title | The title of the post. |
published | The date the post was published. |
description | A short description of the post. Displayed on index page. |
image | The cover image path of the post. 1. Start with http:// or https://: Use web image2. Start with /: For image in public dir3. With none of the prefixes: Relative to the markdown file |
tags | The tags of the post. |
category | The category of the post. |
draft | If this post is still a draft, which won’t be displayed. |
Where to Place the Post Files
Your post files should be placed in src/content/posts/ directory. You can also create sub-directories to better organize your posts and assets.
src/content/posts/
├── post-1.md
└── post-2/
    ├── cover.png
    └── index.md
六、本地部署
在仓库根目录下运行pnpm dev在本地部署查看是否正确运行 运行后在localhost:4321页面打开查看
七、github部署
7.1在astro.config.mjs 中配置文件设置 site 和 base 选项
import { defineConfig } from 'astro/config'

export default defineConfig({
  site: 'https://astronaut.github.io',
  base: 'my-repo',
})- site site 的值必须是以下之一:
- 基于你的用户名的以下网址:https://
.github.io - 为 GitHub 组织的私有页面 自动生成的随机网址:https://
.pages.github.io/ base
- base 可能需要为 base 设置一个值,以便 Astro 将你的仓库名称(例如 /my-repo)视为你网站的根目录。
注意:如果出现了以下情况,则不要设置 base 参数:
- 你的页面是由根文件夹所提供。
- 你的源码存储库是位于 https://github.com/
/ .github.io。
7.2 配置 GitHub Action
在你的项目中的 .github/workflows/ 目录创建一个新文件 deploy.yml,并粘贴以下 YAML 配置信息
name: Deploy to GitHub Pages

on:
  # 每次推送到 `main` 分支时触发这个“工作流程”
  # 如果你使用了别的分支名,请按需将 `main` 替换成你的分支名
  push:
    branches: [ main ]
  # 允许你在 GitHub 上的 Actions 标签中手动触发此“工作流程”
  workflow_dispatch:

# 允许 job 克隆 repo 并创建一个 page deployment
permissions:
  contents: read
  pages: write
  id-token: write

jobs:
  build:
    runs-on: ubuntu-latest
    steps:
      - name: Checkout your repository using git
        uses: actions/checkout@v4
      - name: Install, build, and upload your site
        uses: withastro/action@v2
        # with:
          # path: . # 存储库中 Astro 项目的根位置。(可选)
          # node-version: 20 # 用于构建站点的特定 Node.js 版本,默认为 20。(可选)
          # package-manager: pnpm@latest # 应使用哪个 Node.js 包管理器来安装依赖项和构建站点。会根据存储库中的 lockfile 自动检测。(可选)

  deploy:
    needs: build
    runs-on: ubuntu-latest
    environment:
      name: github-pages
      url: ${{ steps.deployment.outputs.page_url }}
    steps:
      - name: Deploy to GitHub Pages
        id: deployment
        uses: actions/deploy-pages@v4
7.3 在仓库中进行设置
- 在 GitHub 上,跳转到存储库的
Settings选项卡并找到设置的Pages部分。 - 选择
GitHub Actions作为你网站的Source,然后按Save。 - 提交(commit)这个新的“工作流程文件”(workflow file)并将其推送到 GitHub。
遇到的问题以及解决方案
- 一开始的时候直接部署失败 根据
github Action给出的报错信息,找到了对应的配置信息,修改完成 - 图片路径问题 部署到github上和部署到本地的时候路径有些问题,修改相关路径即可
页面展示
- 根据时间线显示发布的博客(点击目录可以看到每个时间线下的博客)
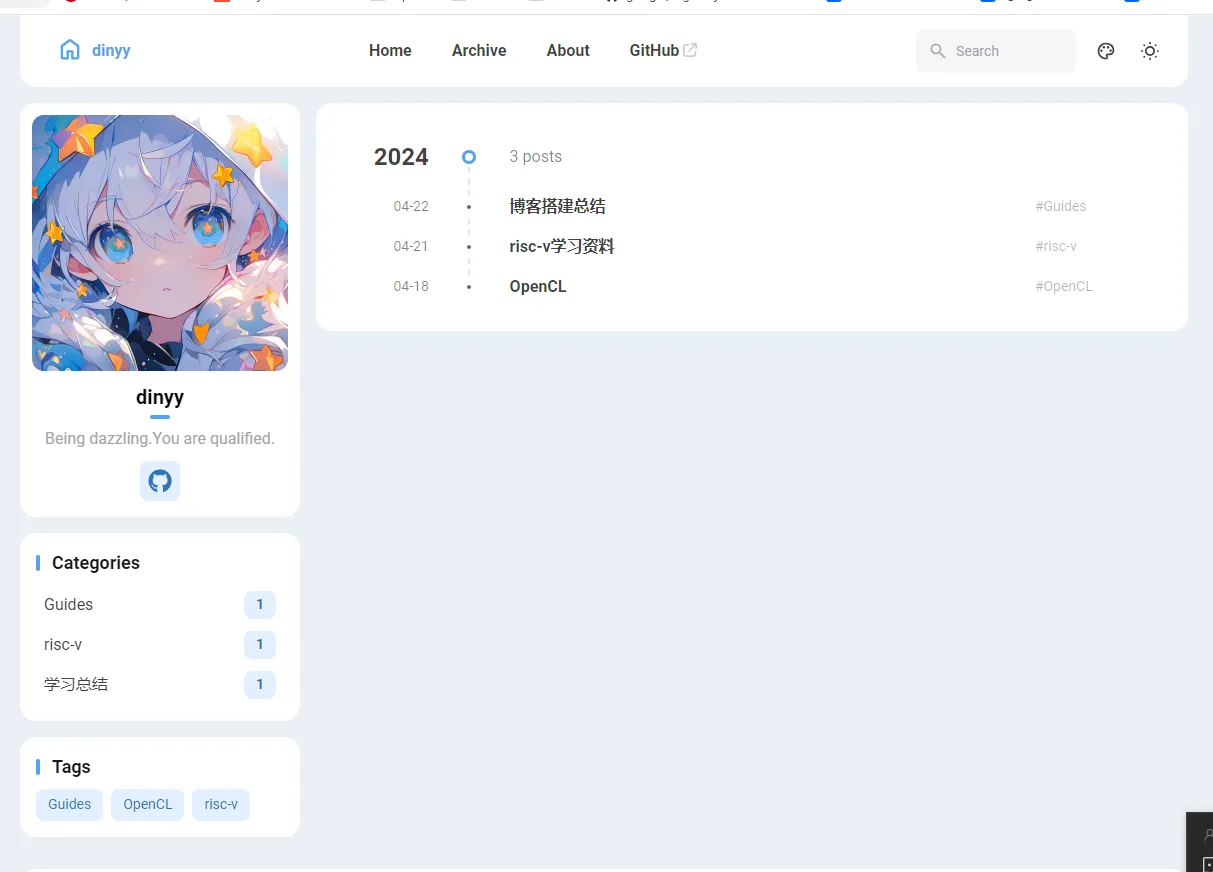
- about页面
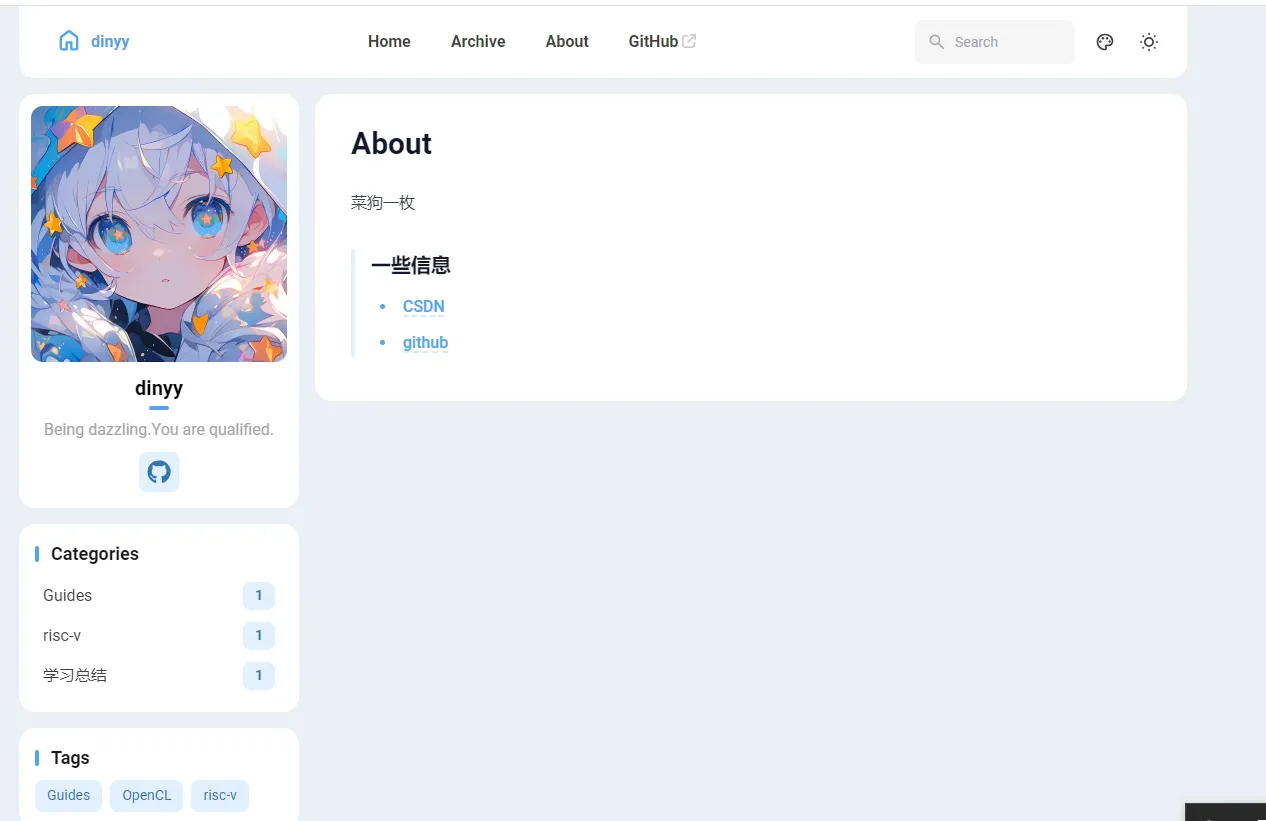
- 技术博客
- 学习资料(视频功能展现)

总结
该博客网站是用于技术博客总结和学习资料整理,可以方便整理相关领域的知识并进行分享

